Refactor your blog comments system with Webmention.io
As a blogger, you know how important it is to engage with your audience and facilitate meaningful discussions around your content. Traditional comment systems can be cumbersome to maintain, and they often limit conversations to your website (Hey Disqus, I'm not cuing you here!). Inspired by Maxime Heckel's blog, I found an exciting solution that brings a retro, classcial, decentralized feel to blog comments system. Webmention.io – a convenient, open, and easy-to-use service that brings all the interactions from social media platforms right to your blog.
In this article, I'll briefly introduce the benefits of Webmention.io, explain how it works, and guide you through the step-by-step process of integrating it into your personal blog.
Embracing the IndieWeb Philosophy
Webmention.io is built on the principles of the IndieWeb movement, which aims to empower individuals to own and control their online content.
We should all own the content we're creating, rather than just posting to third-party content silos. Publish on your own domain, and syndicate out to silos. This is the basis of the 'Indie Web' movement. -IndieWeb.org
What is Webmention.io?
From W3C proposal:
Webmention is a simple way to notify any URL when you mention it on your site. From the receiver's perspective, it's a way to request notifications when other sites mention it.
In other words, it's like seeing mutual references between papers or mutual mentions between tweets. By leveraging Webmention.io, you can enjoy the following benefits:
- No need to host and maintain a comment system: Webmention.io takes care of aggregating and displaying interactions, freeing you from the hassle of maintaining a dedicated comment system.
- Increased visibility and reach: Webmention.io encourages open discussions by allowing anyone to participate in the conversation through their preferred social media platform. By displaying social media interactions directly on your blog, you can attract more readers and increase your content's exposure.
How to Integrate Webmention.io into Your Blog
Step 1: Sign Up and Configure Your Domain
Visit https://webmention.io and sign up using your domain name. Once registered, you'll possibly be prompted to connect your social media accounts, such as Twitter. This allows Webmention.io to aggregate mentions from those platforms. After connecting your accounts, you'll be redirected to the Webmention.io dashboard, where you'll find an API key for your domain, which you'll need later to retrieve mentions (actually I got the whole batch of webmentions even I don't use the API key...) .
Webmention.io uses IndieLogin to log you in, so you need a HTML tag with rel="me" to any of your social links that is able to mark you. I added my twitter into the <link> in <head>:
{/** Required by Webmention.io */}
<link
  title="Follow me on Twitter"
  rel="me"
  href="https://twitter.com/geekplux"
/>
Step 2: Add HTML Tags to Your Blog
To enable Webmention.io on your blog, you'll need to add specific HTML tags to your blog's source code. In the <head> section of your website, insert the following lines of code:
<link rel="webmention" href="https://webmention.io/yourdomain.com/webmention" />
<link rel="pingback" href="https://webmention.io/yourdomain.com/xmlrpc" />
Replace yourdomain.com with your actual domain name. Remember, you may need to redeploy and make your blog live and it can take effect then.
As of now, your webmention.io system should be running correctly, but it only retrieves references (links) to your website from other sites. How can you get replies and references from Twitter or Mastodon? This is where you need Bridgy.
Bridgy "connects your web site to social media" according to the home page but moreso it converts conversations on social media to webmentions to send back to webmention.io. -Adding Webmentions to Your Site
All you need to do is log in to Bridgy with your social media account and wait for your mentions to be crawled...
Step 3: Display Webmentions on Your Blog
To display webmentions on your blog, you'll need to create a script that fetches mentions using the Webmention.io API. Here's a simple JavaScript example:
fetch('https://webmention.io/api/mentions.jf2?target=https://yourdomain.com/your-article-url&token=YOUR_API_KEY')
  .then(response => response.json())
  .then(data => {
    // Process and display webmentions here
  });
Replace https://yourdomain.com/your-article-url with the URL of your blog post and YOUR_API_KEY with the API key generated in Step 1. You can also reference my source code here.
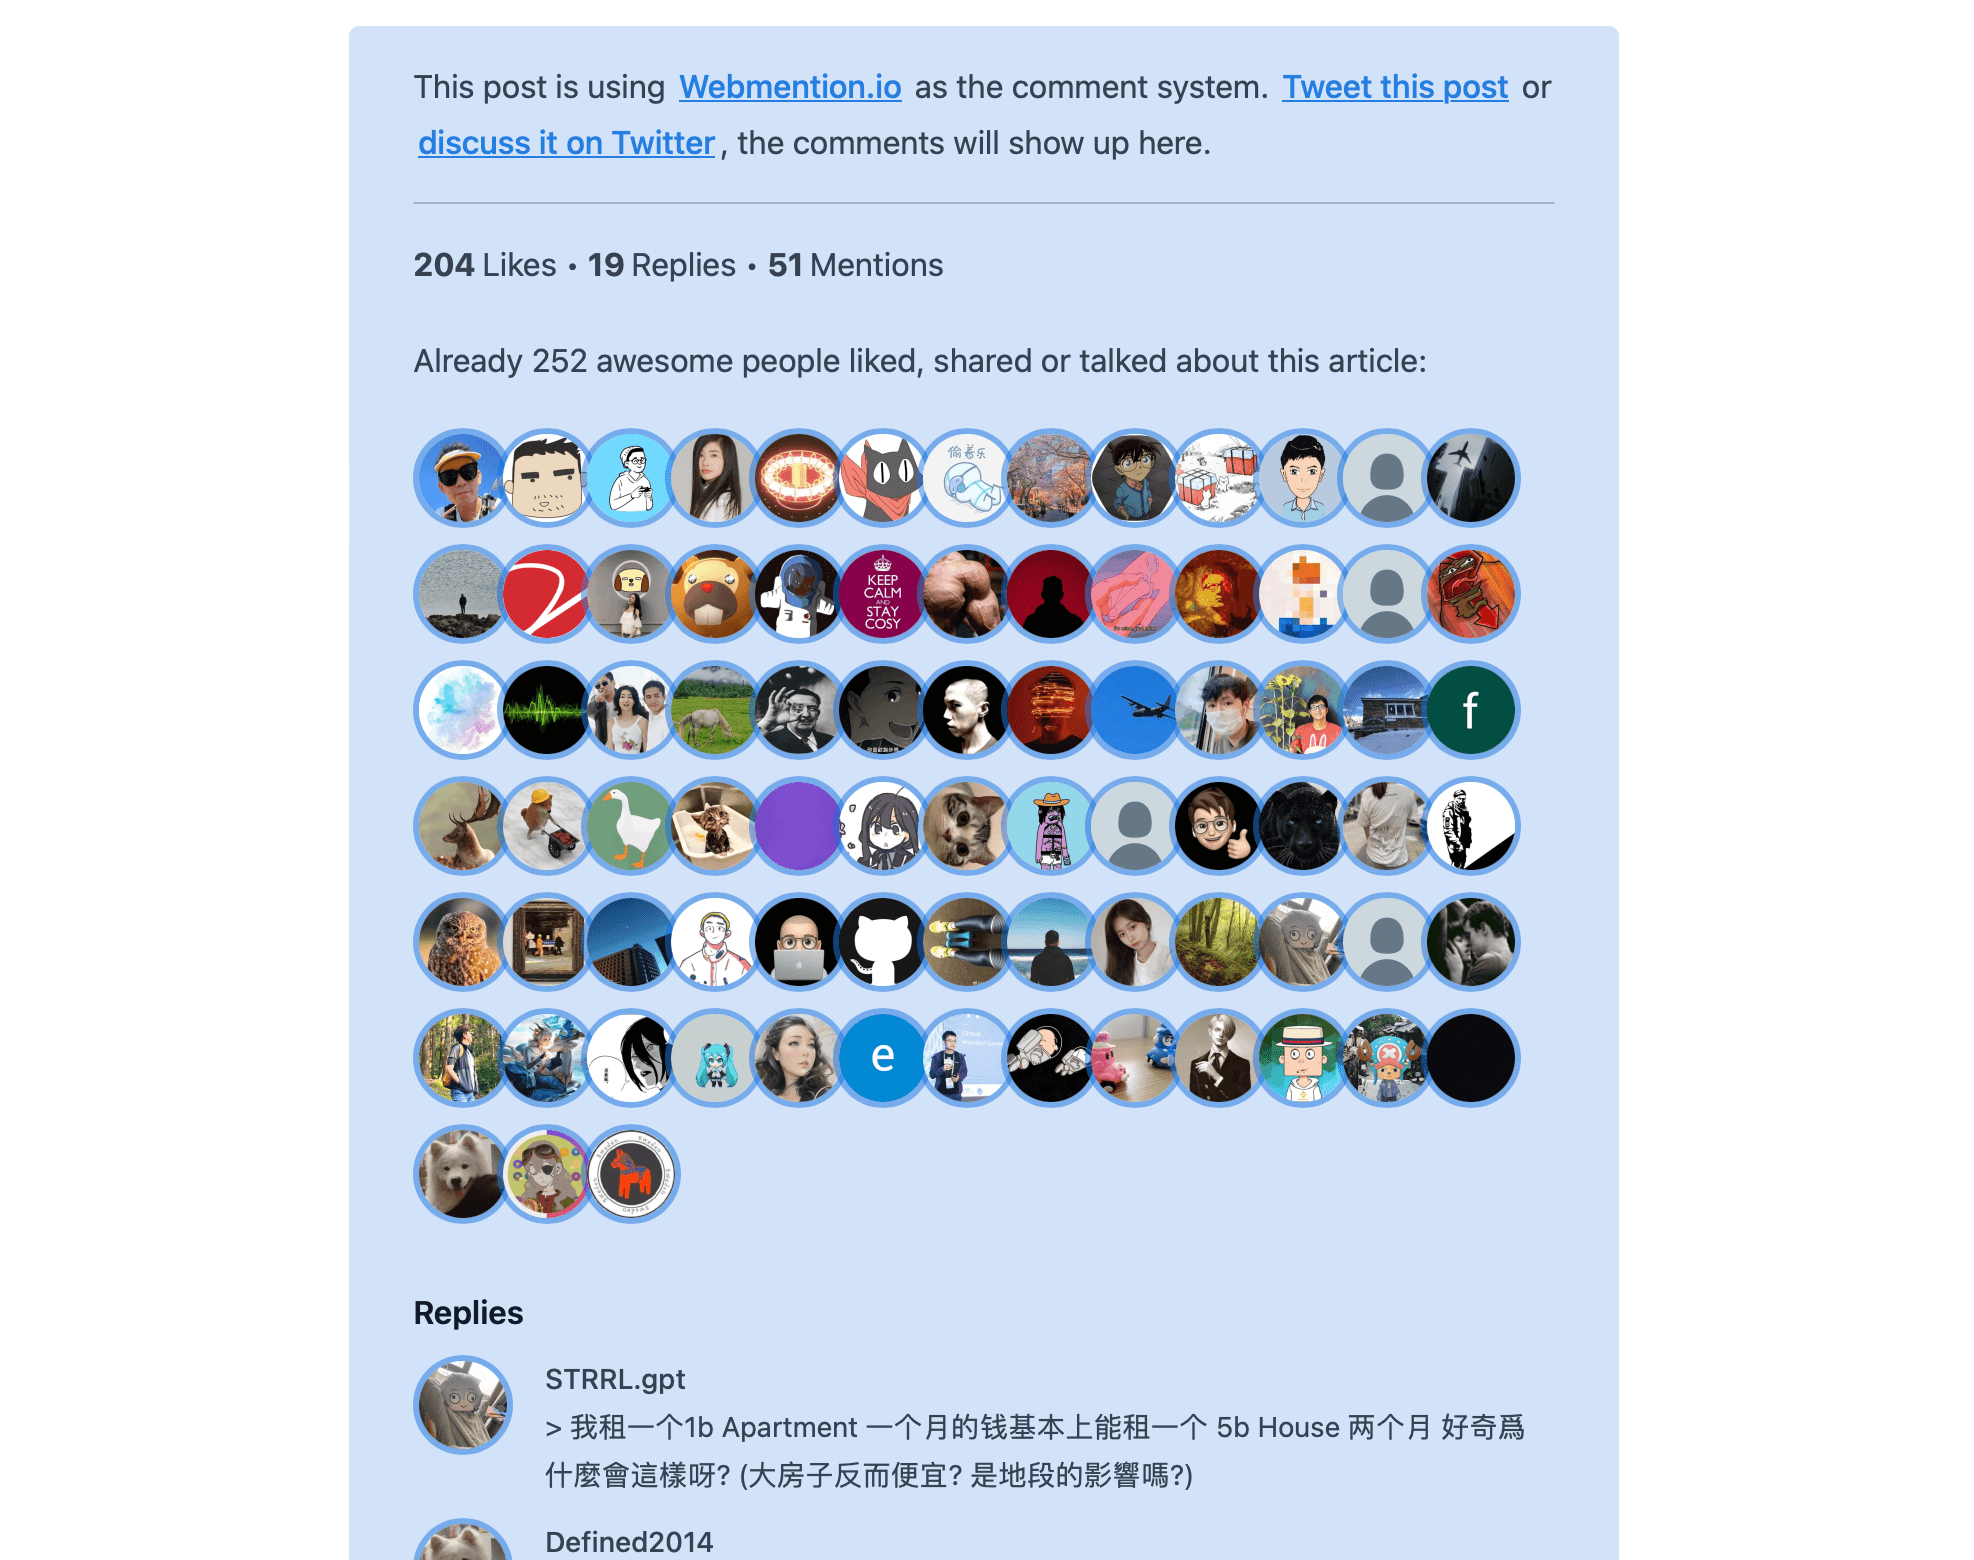
Customize the appearance of webmentions on your blog using CSS. Don't limit your imagination, trying to use a innovative forms and tell me back.
Conclusion
Finally you can effortlessly transform the way you engage with your audience and create more open and visible conversations around your content. Say goodbye to privacy concerns and heavy comment systems, and start benefiting from the simplicity and openness of Webmention.io.