<?xml version="1.0" encoding="utf-8"?>
<feed xmlns="http://www.w3.org/2005/Atom">
    <id>https://geekplux.com</id>
    <title>GeekPlux</title>
    <updated>2026-03-15T21:19:15.881Z</updated>
    <generator>https://github.com/jpmonette/feed</generator>
    <author>
        <name>GeekPlux</name>
        <uri>https://geekplux.com</uri>
    </author>
    <link rel="alternate" href="https://geekplux.com"/>
    <link rel="self" href="https://geekplux.com/en-atom.xml"/>
    <subtitle>Data Visualization &amp; Full-stack programmer, always exploring</subtitle>
    <logo>https://geekpluxblog.oss-cn-hongkong.aliyuncs.com/avatar.jpg?x-oss-process=style/zip</logo>
    <icon>https://geekplux.com/favicon.ico</icon>
    <rights>CC BY-NC 4.0 2026 @ GeekPlux</rights>
    <entry>
        <title type="html"><![CDATA[How to Sync Logseq Plugins, Themes and Settings Across Multiple Devices]]></title>
        <id>https://geekplux.com/posts/how-to-sync-logseq-plugins-settings</id>
        <link href="https://geekplux.com/posts/how-to-sync-logseq-plugins-settings"/>
        <updated>2023-07-21T23:05:00.000Z</updated>
        <content type="html"><![CDATA[<p><strong>TL;DR</strong>: Sync the <code>.logseq</code> directory (including settings, themes, plugins, config, preferences.json) across devices and create soft links for these setting files.</p>
<hr />
<p>Logseq, a robust platform for knowledge management and note-taking, offers users the ability to install a wide array of plugins to enhance productivity. However, these plugins and their associated settings are device-specific and do not automatically synchronize across different devices. This guide provides a detailed walkthrough on how to synchronize your Logseq plugins and settings across multiple devices.</p>
<p><em>This guide primarily focuses on synchronizing plugins and settings, excluding the actual pages, blocks, or graphs, as they usually have their own synchronization methods.</em></p>
<p>Assuming you are starting from your main machine, this guide will help you install and synchronize all your settings and plug...</p><a href="https://geekplux.com/posts/how-to-sync-logseq-plugins-settings">Continue to read</a>]]></content>
        <author>
            <name>GeekPlux</name>
            <uri>https://geekplux.com</uri>
        </author>
    </entry>
    <entry>
        <title type="html"><![CDATA[How to use tailwindcss with AMP in a Next.js project]]></title>
        <id>https://geekplux.com/posts/how-to-use-tailwindcss-with-amp-in-a-next-js-project</id>
        <link href="https://geekplux.com/posts/how-to-use-tailwindcss-with-amp-in-a-next-js-project"/>
        <updated>2020-03-24T22:22:00.000Z</updated>
        <summary type="html"><![CDATA[Recently, I was refactoring my blog using Next.js by a whim. There are 3 tech stacks I would use...]]></summary>
        <content type="html"><![CDATA[<h1>How to use tailwindcss with AMP in a Next.js project</h1>
<p>Recently, I was refactoring my blog using Next.js by a whim. There are 3 tech stacks I would use:</p>
<ul>
<li><a href="https://nextjs.org/">Next.js</a> , a popular React framework with SSG, SSR support naturally</li>
<li><a href="https://tailwindcss.com/">Tailwindcss</a> , a low-level CSS framework with the utility-first concept.</li>
<li><a href="https://amp.dev/">AMP</a> , an HTML framework developed by Google to make your website fast and loading smoothly.</li>
</ul>
<p>However, There are so many restrictions in AMP for performance issues. At the beginning of the project, I found <a href="https://github.com/zeit/next.js/issues/7121">this issue</a>, which means you can NOT add a global CSS as <a href="https://nextjs.org/docs/basic-features/built-in-css-support#adding-a-global-stylesheet">Next.js documented</a>. So this article may be a guide for how to use tailwindcss with AMP in a Next.js project.</p>
<h2>S...</h2><a href="https://geekplux.com/posts/how-to-use-tailwindcss-with-amp-in-a-next-js-project">Continue to read</a>]]></content>
        <author>
            <name>GeekPlux</name>
            <uri>https://geekplux.com</uri>
        </author>
    </entry>
    <entry>
        <title type="html"><![CDATA[Three Levels of Information Perception]]></title>
        <id>https://geekplux.com/posts/information-perception</id>
        <link href="https://geekplux.com/posts/information-perception"/>
        <updated>2023-03-15T22:20:00.000Z</updated>
        <content type="html"><![CDATA[<p>In today's fast-paced, information-rich world, the ability to perceive and process information effectively is more crucial than ever. After relocating from HK to US, I have felt the essential role of information perception in making informed decisions and adapting to new environments. This article will dive into the three levels of information perception, illustrating their unique strengths and challenges and how the understanding is impacted.</p>
<h3>Level 1: Understanding</h3>
<p>At the first level, individuals can read and fully comprehend information but are typically scoped within a single topic or area, which makes them struggle with both depth and breadth of understanding. And their memory retention is often short-lived, <strong>which is similar to a computer's memory</strong>, where information is rapidly read and consumed but not persisted for the long term. Although these individuals ...</p><a href="https://geekplux.com/posts/information-perception">Continue to read</a>]]></content>
        <author>
            <name>GeekPlux</name>
            <uri>https://geekplux.com</uri>
        </author>
    </entry>
    <entry>
        <title type="html"><![CDATA[Enhance Your Internet Privacy in 2023]]></title>
        <id>https://geekplux.com/posts/internet-privacy</id>
        <link href="https://geekplux.com/posts/internet-privacy"/>
        <updated>2023-05-03T22:15:00.000Z</updated>
        <content type="html"><![CDATA[<p>In an increasingly digital world, maintaining online privacy has become a major concern. Many people are looking for ways to stay anonymous online to protect themselves from <strong>invasive advertisements</strong>, potential hackers, and <strong>unwanted surveillance</strong>. This article provides a comprehensive overview of the best practices and tools to enhance your internet privacy, including iCloud Private Relay, Cloudflare's 1.1.1.1, VPNs, and more. Which is actually the solution used by myself, please feel free to give me more suggesstions.</p>
<h2>Understanding Cloudflare's 1.1.1.1</h2>
<p>Cloudflare's <a href="https://1.1.1.1/">1.1.1.1</a> is a DNS resolver that provides faster internet speed and enhanced privacy for users. Instead of using the default DNS provided by your internet service provider (ISP), which can often be slow and insecure, Cloudflare's 1.1.1.1 provides a more robust and private option. It...</p><a href="https://geekplux.com/posts/internet-privacy">Continue to read</a>]]></content>
        <author>
            <name>GeekPlux</name>
            <uri>https://geekplux.com</uri>
        </author>
    </entry>
    <entry>
        <title type="html"><![CDATA[Legacy code best practice: how to take over an existing project smoothly]]></title>
        <id>https://geekplux.com/posts/legacy-code-best-practice-how-to-take-over-an-existing-project-smoothly</id>
        <link href="https://geekplux.com/posts/legacy-code-best-practice-how-to-take-over-an-existing-project-smoothly"/>
        <updated>2021-01-27T00:10:00.000Z</updated>
        <summary type="html"><![CDATA[Don’t rush to overturn all the old code, but change it little by little, modularize and optimize it.]]></summary>
        <content type="html"><![CDATA[<h1>Legacy code best practice: how to take over an existing project smoothly</h1>
<p>Every programmer, I guess, would meet the code from others that you have never contributed to. And one of the ways to distinguish experienced programmers from beginners is to see if they can quickly dive into the legacy code and maintain, develop, and refactor it in the right way.</p>
<p>There is no silver bullet to approach it, I’ve also been caught in the nightmare of not being able to read the code at all. But I have some tips from my experience to guide you to master it step by step. Hope it would be helpful.</p>
<h2>1. Ask for documentation or explanation</h2>
<p>It’s very lucky if there is some detailed documentation, or if the person who wrote the code is still around. This can save you a lot of time, but of course the best way is that the previous team can help you walk through the whole codebase.</p>
<p>In this...</p><a href="https://geekplux.com/posts/legacy-code-best-practice-how-to-take-over-an-existing-project-smoothly">Continue to read</a>]]></content>
        <author>
            <name>GeekPlux</name>
            <uri>https://geekplux.com</uri>
        </author>
    </entry>
    <entry>
        <title type="html"><![CDATA[netjsongraph.js – Google Summer of Code (GSoC) 2017 summary]]></title>
        <id>https://geekplux.com/posts/netjsongraph-js-google-summer-code-gsoc-2017-summary</id>
        <link href="https://geekplux.com/posts/netjsongraph-js-google-summer-code-gsoc-2017-summary"/>
        <updated>2017-08-26T22:45:00.000Z</updated>
        <summary type="html"><![CDATA[A wonderful journey of 2017 GSOC]]></summary>
        <content type="html"><![CDATA[<h1>netjsongraph.js – Google Summer of Code (GSoC) 2017 summary</h1>
<blockquote>
<p>Link on <a href="https://medium.com/@GeekPlux/netjsongraph-js-google-summer-of-code-gsoc-2017-summary-b0239f4eb8a9">medium</a></p>
</blockquote>
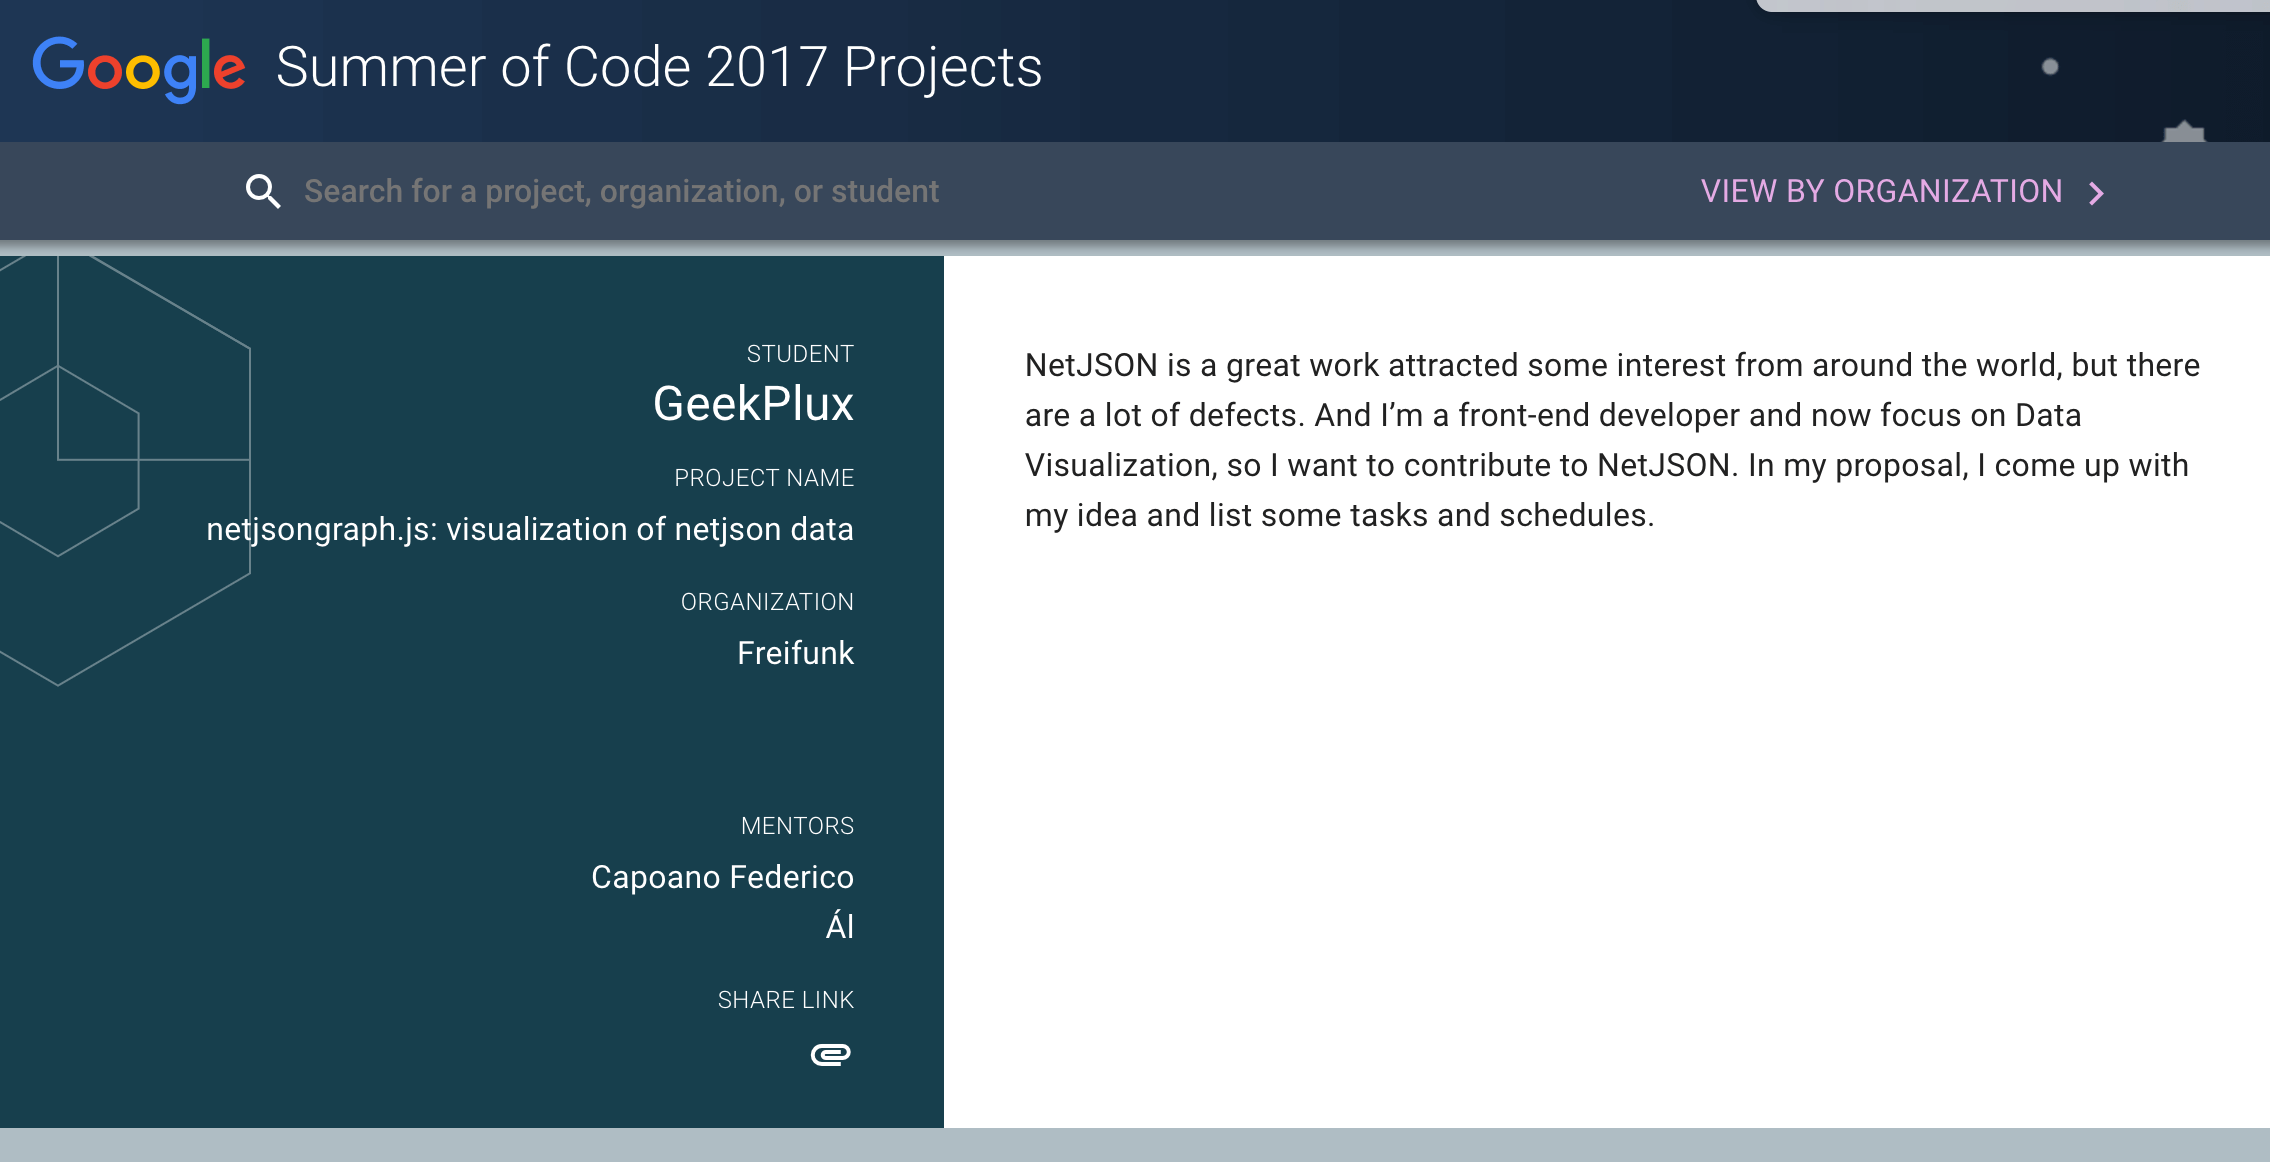
<p>Throughout the last three months, I was quite fortunate to work for [Freifunk][freifunk] on [netjsongraph.js][netjsongraph.js] under the guidance of my mentor <a href="https://github.com/nemesisdesign">Federico Capoano</a>. Thanks for this invaluable experience that I learned a lot of knowledge and use them in a practical project. Here is a summary of the work I have done during the Google Summer of Code (GSoC) 2017.</p>
<p><img src="https://geekpluxblog.oss-cn-hongkong.aliyuncs.com/gsoc/project-page.png?x-oss-process=style/zip" alt="Google Summer of Code project page" /></p>
<h2>Goal</h2>
<p>[netjsongraph.js][netjsongraph.js] is a visualization library for <a href="http://netjson.org/docs/what.html#what-is-netjson">NetJSON</a>, a network topology...</p><a href="https://geekplux.com/posts/netjsongraph-js-google-summer-code-gsoc-2017-summary">Continue to read</a>]]></content>
        <author>
            <name>GeekPlux</name>
            <uri>https://geekplux.com</uri>
        </author>
    </entry>
    <entry>
        <title type="html"><![CDATA[Setting Up Umami as Your Google Analytics Alternative: A Step-by-Step Guide]]></title>
        <id>https://geekplux.com/posts/setup-umami</id>
        <link href="https://geekplux.com/posts/setup-umami"/>
        <updated>2023-07-08T00:46:00.000Z</updated>
        <content type="html"><![CDATA[<p>Umami offers a user-friendly and privacy-focused alternative to the ubiquitous Google Analytics. As an open-source web analytics tool, it provides you with necessary insights about your website's traffic without compromising the privacy of your visitors. In this guide, we will walk you through the process of setting up Umami for your blog using PlanetScale, GitHub, and Vercel.</p>
<h2>Step 1: Create an Umami Database on PlanetScale</h2>
<p>Before you start, you need to create an Umami database on <a href="https://planetscale.com/">PlanetScale</a>. This will store your site's analytics data that Umami will collect.</p>
<ul>
<li>Navigate to the PlanetScale dashboard.</li>
<li>Click on the 'Create Database' button and name it 'umami-db'.</li>
</ul>
<p>The creation process may take a few moments. Upon completion, you will be able to see your new 'umami-db' listed on your PlanetScale dashboard.</p>
<p>![](/images/umami/planetscale.pn...</p><a href="https://geekplux.com/posts/setup-umami">Continue to read</a>]]></content>
        <author>
            <name>GeekPlux</name>
            <uri>https://geekplux.com</uri>
        </author>
    </entry>
    <entry>
        <title type="html"><![CDATA[Refactor your blog comments system with Webmention.io]]></title>
        <id>https://geekplux.com/posts/webmention</id>
        <link href="https://geekplux.com/posts/webmention"/>
        <updated>2023-03-20T22:35:00.000Z</updated>
        <content type="html"><![CDATA[<p>As a blogger, you know how important it is to engage with your audience and facilitate meaningful discussions around your content. Traditional comment systems can be cumbersome to maintain, and they often limit conversations to your website (Hey Disqus, I'm not cuing you here!). Inspired by <a href="https://maximeheckel.com">Maxime Heckel's blog</a>, I found an exciting solution that brings a retro, classcial, decentralized feel to blog comments system. <a href="https://webmention.io">Webmention.io</a> – a convenient, open, and easy-to-use service that brings all the interactions from social media platforms right to your blog.</p>
<p>In this article, I'll briefly introduce the benefits of Webmention.io, explain how it works, and guide you through the step-by-step process of integrating it into your personal blog.</p>
<h2>Embracing the IndieWeb Philosophy</h2>
<p>Webmention.io is built on the principles of the...</p><a href="https://geekplux.com/posts/webmention">Continue to read</a>]]></content>
        <author>
            <name>GeekPlux</name>
            <uri>https://geekplux.com</uri>
        </author>
    </entry>
</feed>